Contents
Introduction:
In today’s digital age, editing photographs has become more accessible than ever with the advent of powerful software like Adobe Photoshop. While it’s essential to use these tools responsibly and ethically, understanding the editing process can also help individuals identify potential security vulnerabilities. In this blog post, we will guide you through the steps to edit a California Driver’s License using Adobe Photoshop. Please note that this information is intended for educational purposes only, and we strongly discourage any illegal activities.
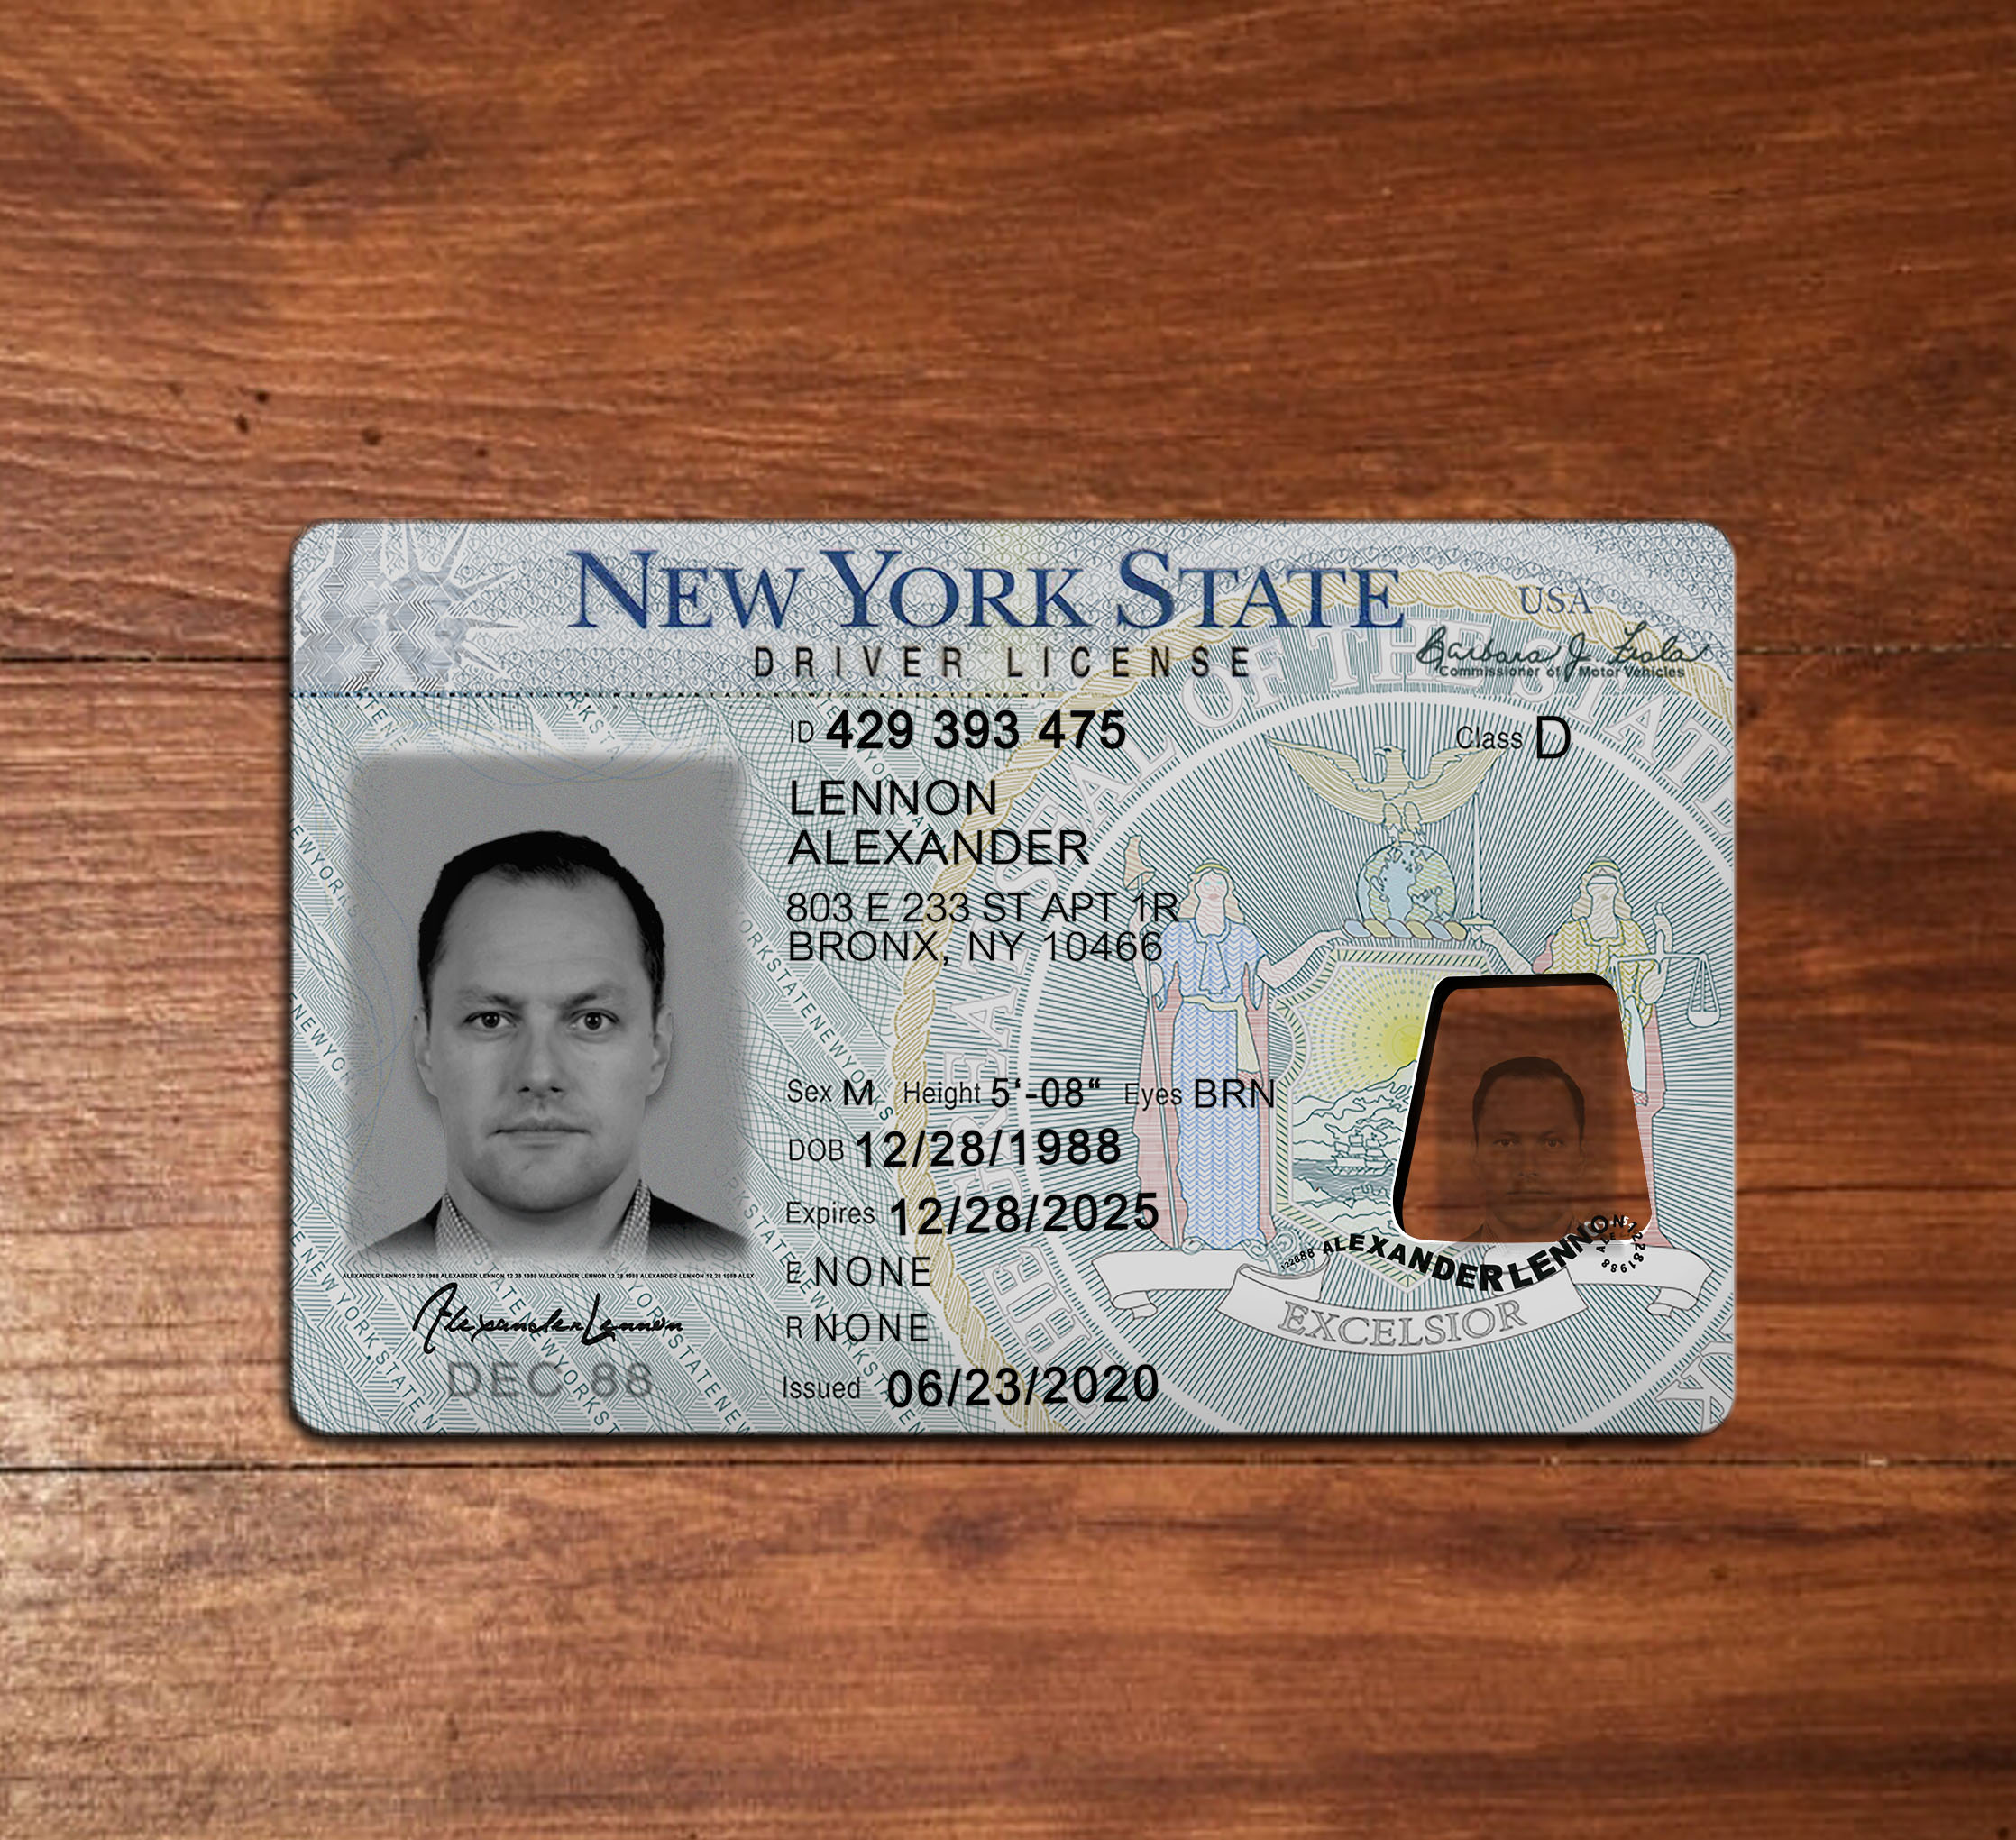
1. Understand the Legal Implications:
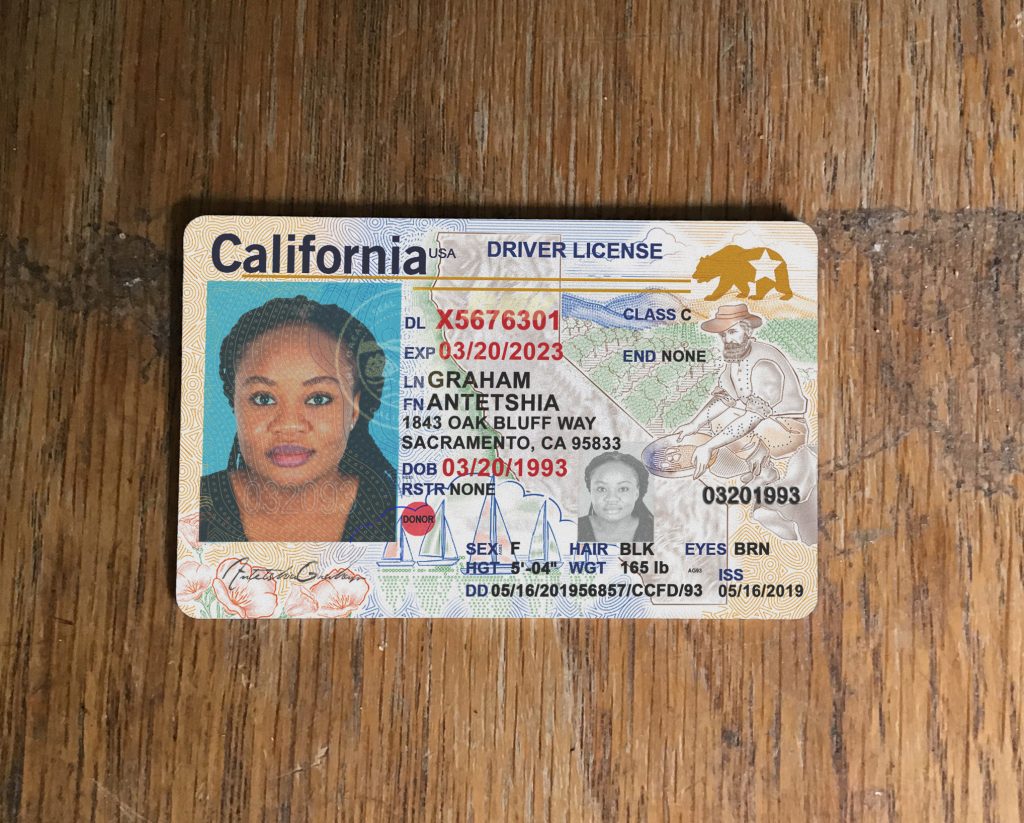
Before delving into the editing process, it’s crucial to emphasize the legal implications associated with tampering with official documents. Editing a driver’s license for fraudulent purposes is illegal and can have severe consequences. This tutorial should serve as an educational exercise only and not be used for any illegal activities.
![]()
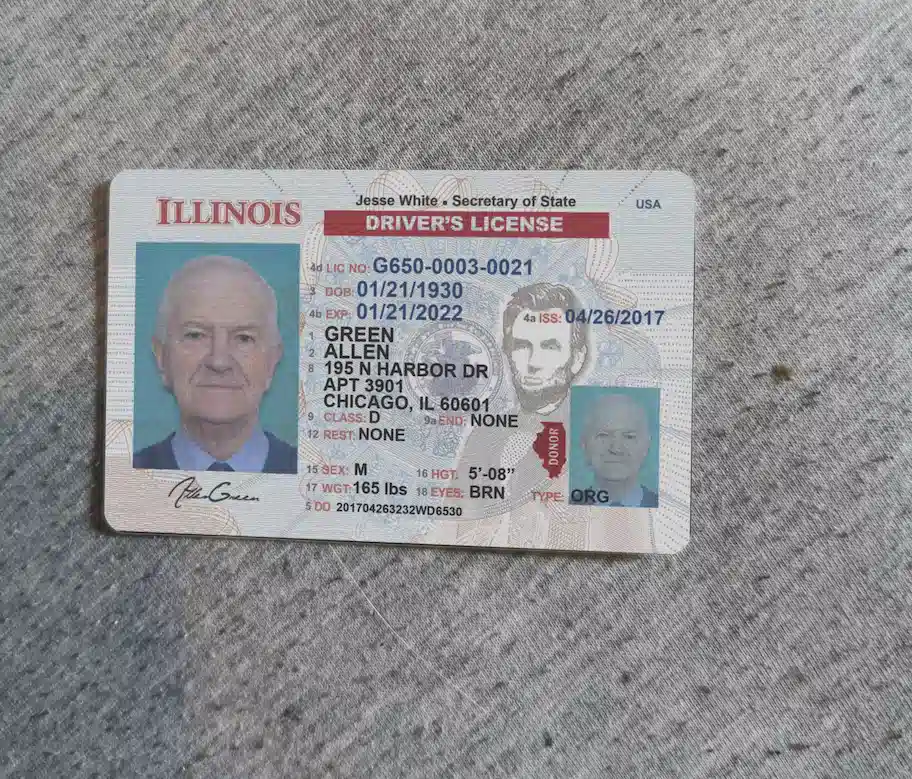
2. Gather the Necessary Materials:
To start, you will need your original California Driver’s License, a high-quality scanner or smartphone camera, and Adobe Photoshop installed on your computer. Make sure you have the latest version of Adobe Photoshop to access all the necessary tools for editing.
3. Scan or Photograph the Driver’s License:
Using a high-quality scanner or smartphone camera, create a digital copy of your original California Driver’s License. Ensure that the image is clear and free of any obstructions or glare. Save the scanned or photographed image in a file format compatible with Adobe Photoshop (e.g., JPEG or PNG).
4. Open the Image in Adobe Photoshop:
Launch Adobe Photoshop and open the scanned or photographed image of your California Driver’s License. Familiarize yourself with the Photoshop workspace, including the toolbar, layers panel, and options bar.
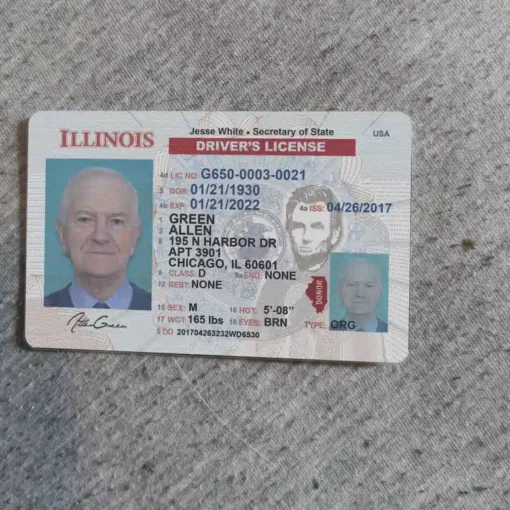
5. Understand the Key Elements to Edit:
To make the editing process easier, it’s essential to understand the key elements of the driver’s license that can be changed without altering its legality. These elements typically include the name, address, date of birth, and license number.
![]()
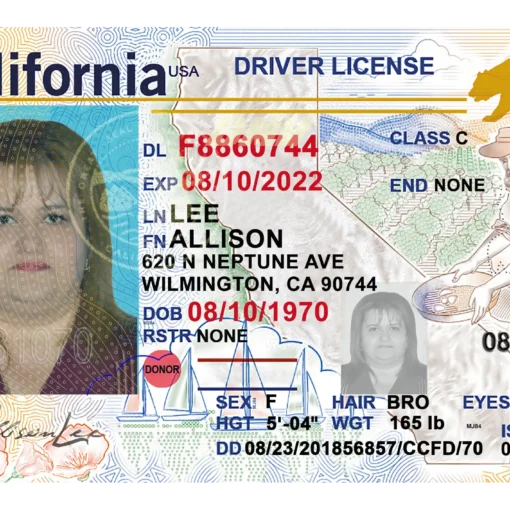
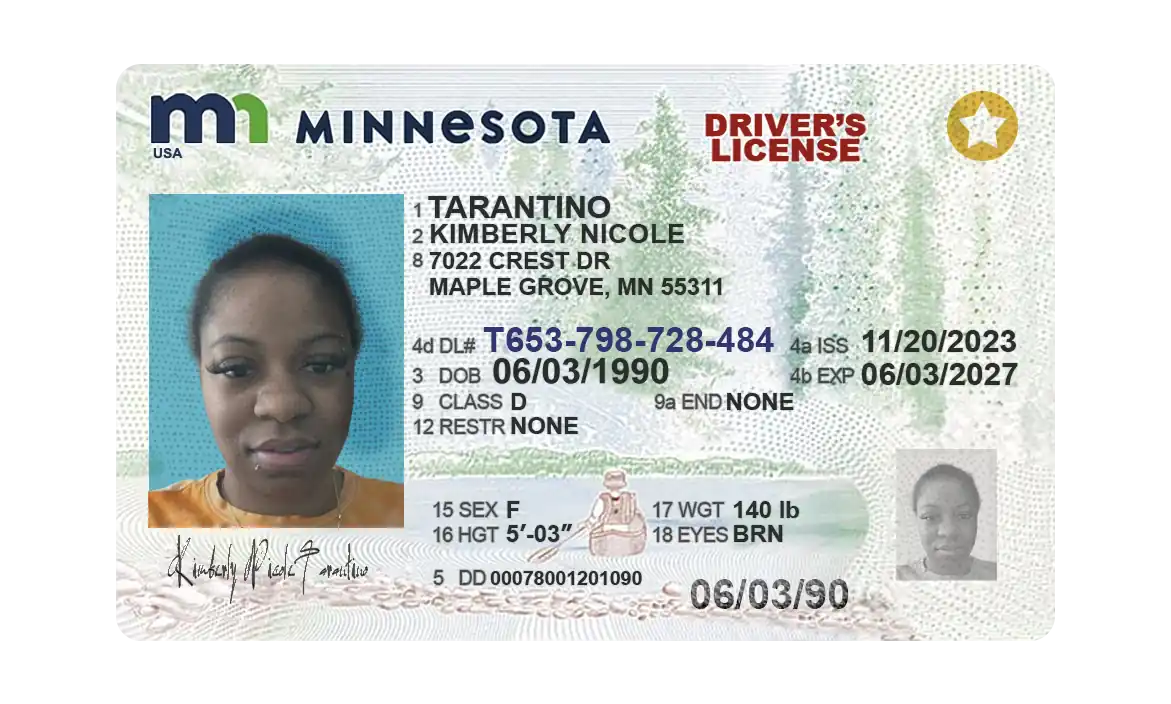
6. Use Photoshop Tools to Edit the Driver’s License:
Utilize Photoshop’s various tools, such as the clone stamp, text tool, and selection tools to make edits to the driver’s license. For example, you can change the address or birthdate by selecting the relevant portion of the license and replacing it with the desired information. It’s crucial to maintain the original font, size, and color for a more realistic result.
7. Retouch and Blend the Edits:
After making the necessary changes to the driver’s license, use Photoshop’s tools and techniques to retouch and blend the edits seamlessly. Pay attention to lighting, shadows, and color consistency to ensure a professional-looking result.
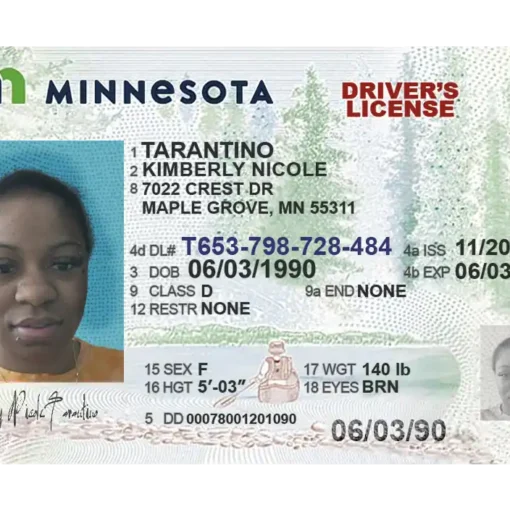
8. Save and Export the Edited License:
Once you are satisfied with the modifications, save the edited license as a high-resolution image in a suitable format (e.g., JPEG or PNG). It’s vital to maintain the utmost professionalism and ethical conduct when using edited images.
![]()
Conclusion:
Editing a California Driver’s License using Adobe Photoshop requires caution, responsibility, and an understanding of the legal implications involved. This tutorial serves as an educational resource to provide insight into the editing process. Always adhere to the law and use these skills solely for lawful purposes. Remember, falsifying documents can lead to severe consequences.
